Not so much a guide but more of a documentation of my recent CNC table and clamping adventures that you might be interested in.
My previous setup relied heavily on double sided tape and two toggle clamps to hold-down my work piece. Due to my clumsiness, I would not always get the tape evenly spread and often got creases and other problems with the tape. The creases probably caused a variation in the z-height between probing and milling stages when using the Autoleveller. Coupled with that, some of my copper boards were looking a bit warped and I didn’t think my current methods of holding down a PCB would be adequate to fix the warping problems.

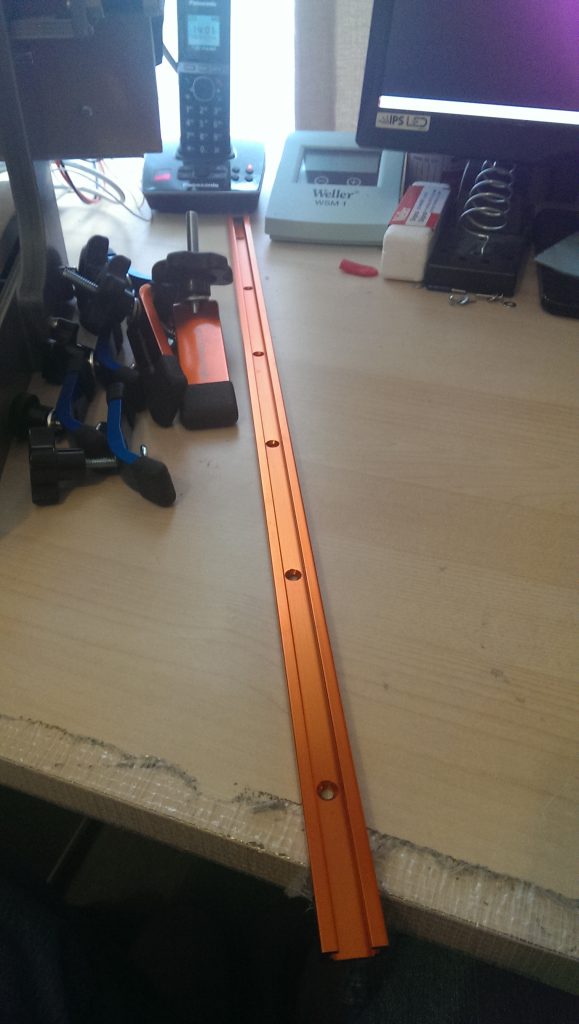
I needed a reliable and secure way to hold the board to the CNC table whilst allowing for the possibility of a double sided PCB to be engraved. There are a variety of ways to do this of course, from vacuum tables and various jigs. I decided the easiest option for me would be to use t-slot clamps as I could slide the clamps up and down the t-slot, reposition them how I wanted, and use one in each corner to secure the pieces into place. I first thought this aluminium track could be embedded into a new table / spoil board.

This would be good because I can just cut this to size and embed it into some slots in the table. The problem is that the table would need to be quite thick to accommodate both the slot for the rail and the screws to hold the rail in. For my small CNC machine this might be a problem as there is not really enough room between the bottom of the z-axis fixture and the table top. I decided therefore that a better option was to route the t-slot directly into the table and eliminate the need for screws.
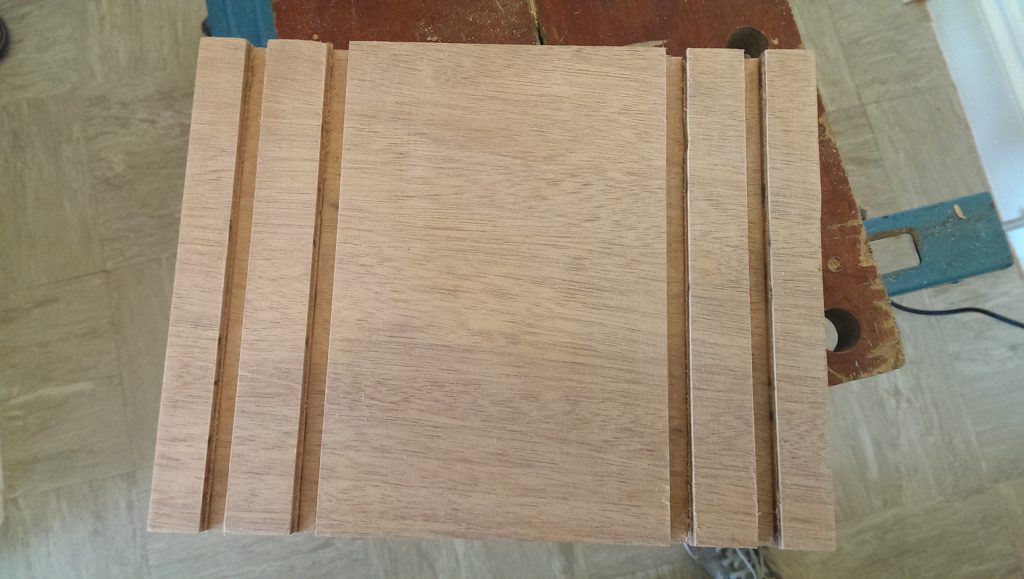
After cutting the wood to size and taking measurements, I routed 4 3/8″ grooves in the wood to a depth of about 3/8″.


After this, I needed to route the t-slot part at the same depth as the slots.


By the way, the background of the side view shows the router I used. It is the Hitachi M12VE, which is an excellent tool. I have never done any routing before so have nothing to compare it to, but I was very impressed with the placement of the essential controls. Well thought out design.
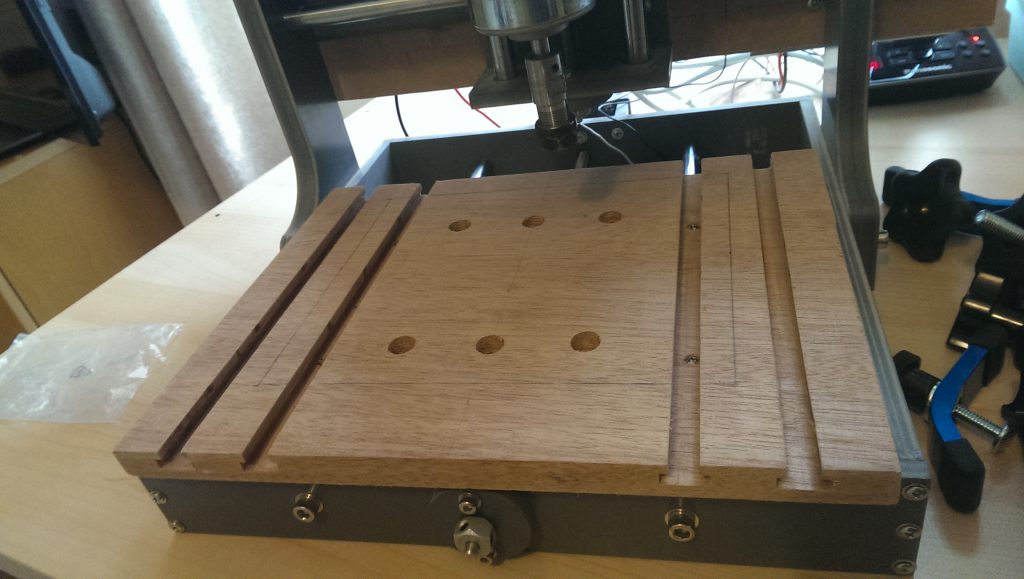
Next I drilled some holes so it could be attached to the CNC machine. These holes had to be deeply counter sunk so the screws could reach the fixture they were attached to and meant the screws didn’t impede the CNC tool in any way. The counter sunk holes meant that the screws could use washers too.

I next milled out a shallow pocket to act as a jig for my PCB boards.

For this I used a 1/8″ tool in the machine to mill this pocket of exactly 190mm wide by 160mm long starting at machine 0, 0. This meant that any workpiece clamped against the bottom left edge would be starting at 0, 0. When I make a double sided PCB I could just flip the board over and clamp it against the bottom right hand edge for the other side. All I need to do then is move the machine tool to X190 and I would know the tool is right on the edge of the pocket. Touch-off the machine to X0 and start engraving the 2nd side of the board. The drilled holes should be aligned perfectly then.
Here is the finished table with clamped copper board.

This is exactly what I wanted. I can quickly and securely clamp any piece down and the shallow pocket acts as a jig for the copper.
The mini hold-down clamps are from Rockler woodworking and are the smallest I could find of this type. They are great because they are very quick to attach and set, can accommodate a variety of thicknesses of material and have rubberised tips to stop any scratches. The t-bolts were from a jig making kit from Axminster tools. It includes a variety of different length bolts and a variety of knob types to suit your need.
